 Let’s make some pocket mazes!
This assignment has two parts.
Part 1: Tolerance test: Make a 3d model of a 30mm straight run with a turn at the end. We will print these first. Scroll down for the marble choices. Put your initials on the corner. For a 4mm ball bearing, design your maze channel at 5.5mm wide and 5mm tall.

Part 2: The actual maze. Once we get the tolerance down we can make the full size maze.
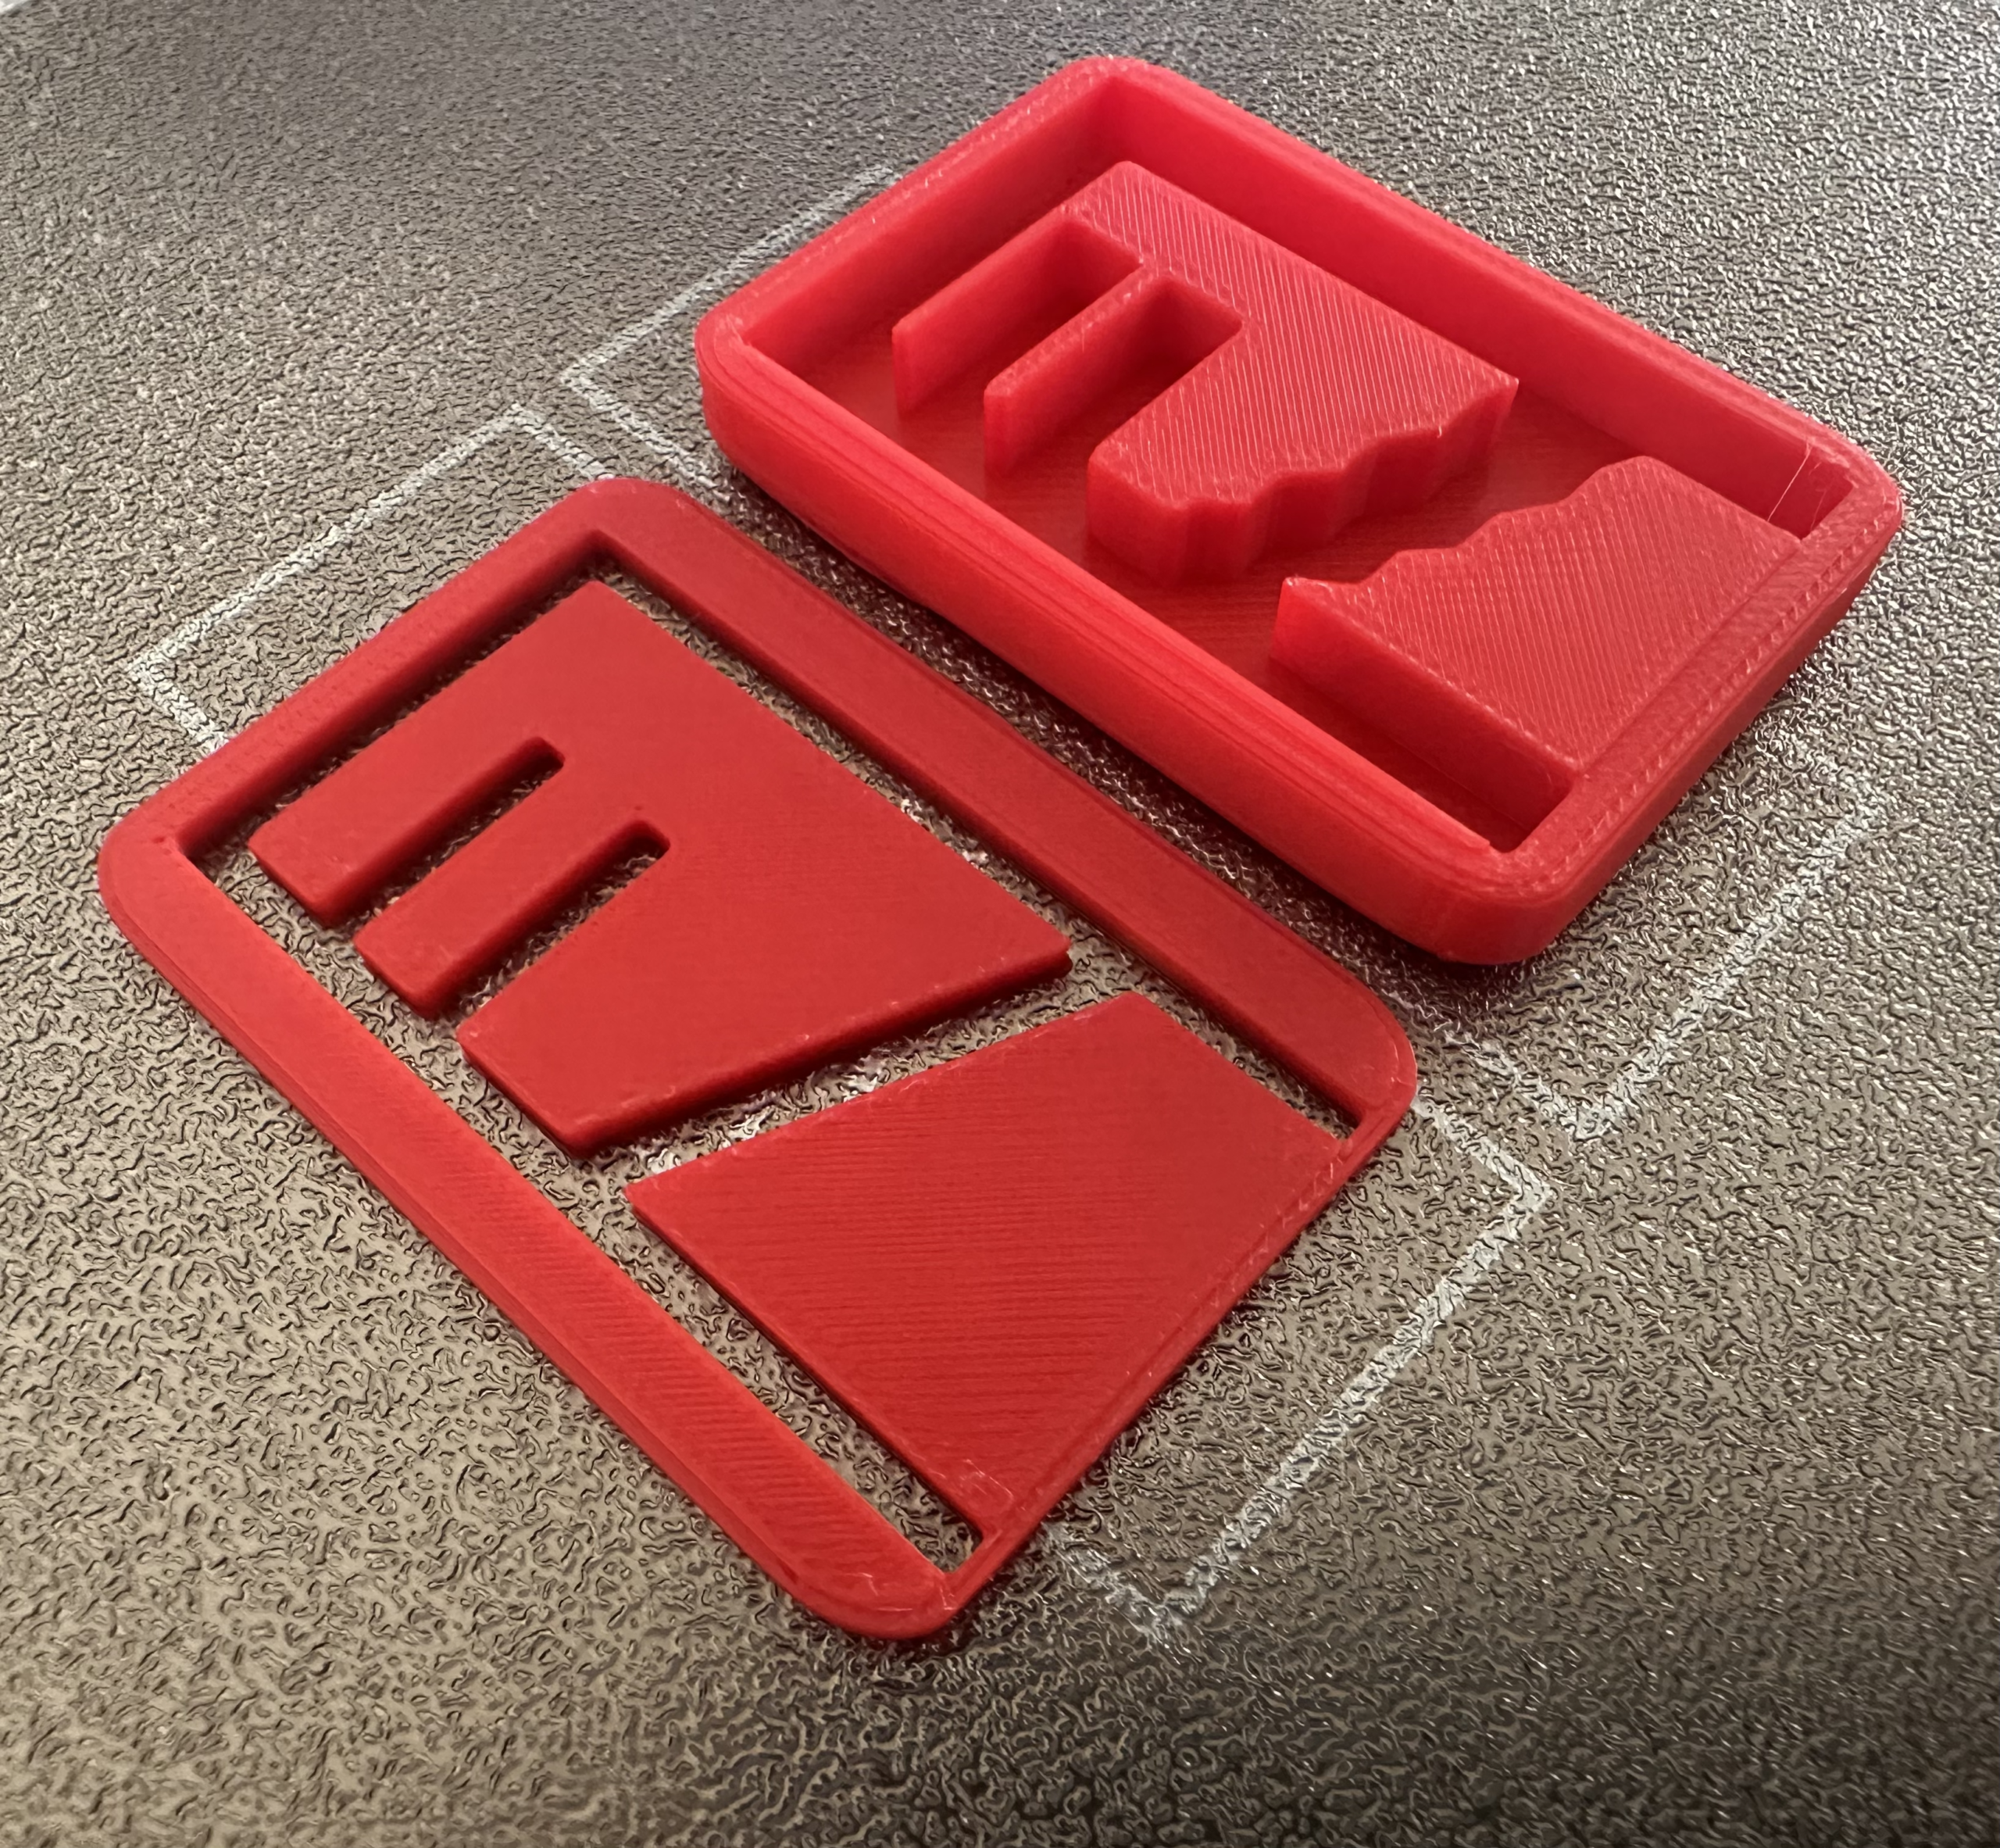
We will use thin, flexible plastic for the lid. Your maze will have two 3d printed parts.
- The maze- this has to allow the ball to roll freely around the maze. For a 4mm ball bearing, design your maze channel at 5.5mm wide and 5mm tall.
The plastic – we cut to fit and glue to the edge of the maze.- Update: since the clear plastic lid didn’t glue well the strategy for the lid changes.
Design a separate lid that has a narrower slot or window that will give a view of the marble’s movement BUT it can’t fall out.

Requirements:
1. No larger than 60x60mm and no smaller than 40x40mm.
2. Your maze must include at least 6 direction changes, at least 3 intersections to connect channels AND at least 2 dead ends. There must be only one correct path from start to finish.
3. Mark the start and finish of your maze with a divot – a small depression in the maze that will hold the ball in place.

Here’s your ball bearing choices:

What do you turn in? Complete step 1 and step 2.
1. Canvas: a screenshot from Tinkercad of your finished design. How to take a screenshot in Windows.
2. For printing: upload the STL file of your design to this Google Form.
Here’s how to convert files to STL:
-in Tinkercad click the EXPORT button in the top right hand corner. Choose STL as the file format. Pay attention to where the file downloads on your computer. -make sure that the file has your last name (like milsteadcompleteshape.svg). No name=no 3d print.
When you are done click here to submit your design.