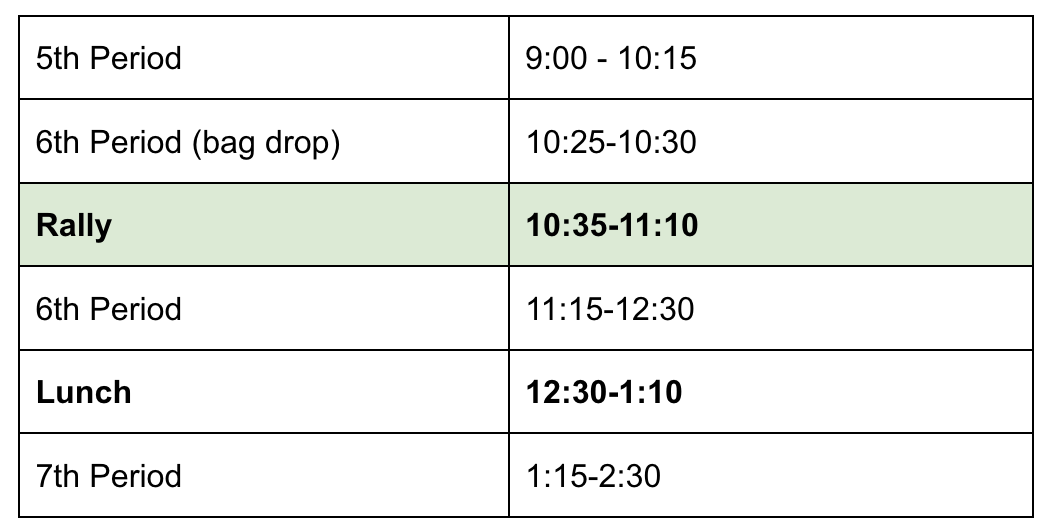
5-15-26

  1. Keep working on the Ultrasonic Robot – after you have passed the Rover challenges.

2. Leveling up your Sensor robot – click here.   Add a swiveling sensor.

3. Joystick and Servo – you can work on this with your partner. Show me when you are done with the circuit.

4. Next -add a Joystick to your Ultrasonic Robot. 

Jordan and Tristan – follow this link for you individual work today

Project Remote Control:
Arduino Uno and Breadboard

Joystick Case

5-14-26

Bridges Assemble!
1. assemble your bridge.
2. write your name on your bridge with a Sharpie.
Tristan – two more parts done
Adler – will be printed tonight
Hugo – deck plate printed

3d campus model
1. Poster is ready!  Measure your building on the map to scale measurements DOWN.
2. Logan & Tristan – measure the Field House
3. Continue work on your buildings in Tinkercad.

5-12-26

Bridges Assemble!
1. assemble your bridge.
2. write your name on your bridge with a Sharpie.

3d campus model
1. I’m picking up our base model poster this afternoon.
2. building roll- call: who has which building?
3. Continue work on your buildings in Tinkercad.


5-11-26

Period 5:

  1. Keep working on the Ultrasonic Robot – after you have passed the Rover challenges.

2. Leveling up your Sensor robot – click here.   Add a swiveling sensor.

3. NEW Joystick and Servo – you can work on this with your partner. Show me when you are done with the circuit.

Period 4:

Today, I want to return our focus to your 3d printed bridges.

Let’s get them testing ready which means:
1. assembled OR
2. revised bridge designs sent for a reprint.

Once your bridge is done and assembled OR resubmitted for printing you can return to the 3d Model of the Campus.